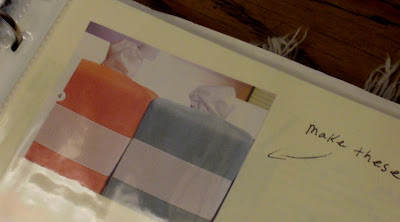
…because on this DIY Day, I can offer you a tissue from a pretty box.
The problem is, this project has always intimidated me because it seemed like it was bound to involve math and measuring – things I do not excel at naturally. Need someone to find symbolism in the design of a sprite can, or deconstruct an e. e. cummings poem? I’m your girl. Need someone to draw a straight line or multiply fractions? Keep looking! But, my sewing skills have been improving and my distaste for the ugly tissue box growing, so I decided to give this a go and see what happened.
Step 1: I made a very not mathematically correct pattern by sticking a tissue box on a sheet of paper, scooting it about ½ an inch in from the edge (so I’d have ¼ of an inch seam allowance all the way around), drawing a line next to the box, and cutting it out. Next, I held the edge of the paper up against the box, folded it over the top, and drew a diagonal line towards the center of the box. I folded the paper in half and cut along the line. I made two of these, one with a bigger triangle shape than the other. I held them up to the box, to make sure that the triangles would meet in the middle of the box. It helps to just see them.
Step 2: I cut two of each shape out of some thin canvas type fabric, pinned the edges, and sewed.
Step 3: to make sure I wasn’t totally off, I fit my fabric tube around the box, so far so good!
Step 4: I ironed all the seams flat, turned up the edge ¼ of an inch, pinned and sewed.
Step 5: I stuck my tube back on the box, wrong side facing out. I paired up my diagonal edges, pinned and sewed them. Notice that this leaves a little gap in the middle for tissues to poke out.
Step 6: I folded over all the raw edges around the tissue hole, and sewed them as well.
And here is the finished box cover! This was much easier than I thought it would be. I would totally recommend taking the time to make a paper pattern. I know I made it sound complicated, but it really only involves wrapping paper around the box. Also, I think checking the fit of the cover on the box after each step really helps ensure that the cover will fit correctly. This took less than 30 minutes from start to finish (and I have no idea what I’m doing) and resulted in something pretty spiffy!
No more ugly tissue boxes for me! Be sure to enter my one year blogiversary giveaway!
<3
Hattie


6 comments:
A littl-bitty slipcover! I love it!
Oh Hattie, I shall need to make this project, if for no other reason than to use tissues when I get all emotional over sweet bloggy friends like you. Thank you so much for all your comments and encouragement. God Bless!
I like this lots! You could even add big (or little) bands of ribbon around it a la your duct tape purses and the inspiration book image when you want to get a little festive! What a great project.
Hi Hattie, this is really cute. What kind of fabric did you use?
Amanda,
It was in the remnant bin at JoAnn's so I don't have an exact name. It's very similar to canvas, but a little lighter weight than the fabric a canvas tote bag would be made from. I hope that makes sense!
Hattie :-)
oh...how cute!
Post a Comment