Monday, August 16, 2010

Crafting a room makeover

Ah, the craft room/office, land where piles of fabric, paperwork, and thrifted finds go to languish in a kind of cluttered purgatory. If you remember, I sort of kind of cleaned up this space during the spring.


Paperwork found a home.

My desk got all gussied up.

All was well. Well, except for this side of the room.

You see, my sewing habit bred a fabric stashing habit and it all exploded in a big lack of storage and open workspace mess.

Enter IKEA and two beautiful white worktables. It took a lot of wrangling, but Brad and my dad figured out a way arrange everything into a work-friendly space that doesn’t block the baseboard heat or any electrical outlets.

The orange file cabinet stayed against the wall,


and the two new tables butt right up against it.


My white desk moved to the opposite wall, along with the other file cabinet. Brad’s old cargo desk went to Goodwill.


While all the major furniture is in place, you can see that I still have a lot of organizational work ahead of me!


This pile of furniture is all destined for a paint job and will help keep fabric and sewing notions organized.


And these little pieces are going to help corral some other stuff.

It’s going to be a lot of work, but I’m excited to turn this room into something that works for us!

<3
Hattie

Thursday, August 12, 2010

Bedroom switcharoo

I hinted earlier in the week that an innocent trip to IKEA caused a whole lot of moving, painting, and shaking around the roost. Our bedroom and office/craft room have been in a state of upheaval for most of the week, but the bedroom is finally starting to take shape.


Let’s take a look at the bedroom before:


Note how low the TV is. You can’t see it, but the TV is sitting on an old school desk I used as a TV stand during my grad school days and for most of our marriage. The cubby in front was perfect for holding the DVD player. I liked this arrangement quite well until my parents gifted us a super comfy pillow top mattress. The new mattress raised the bed a good six inches, blocking part of the TV screen. Another downside to the school desk was that is lacked storage, something we needed much more of in our little bedroom.

Here’s my side of the bed and nightstand:


Now for some after photo fun!


We moved the school desk into the office (more on that next week) and replaced it with my nightstand.


This gave us the extra storage space we needed. To fix the height problem, we purchased a pine nightstand at IKEA for $14.99. Three coats of Zinsser primer and two coats of American Accents semi-gloss white paint later, and we used it as a topper for my old nightstand.


I still have to do some cord wrangling and concealing, but I’m much happier with the new look. I also need to figure out new artwork for over the TV, and attempt anything that might possibly hide the ugly HD antenna us over-the-air TV folks need. Anyone know if you can paint those suckers?

Since I was now nightstand-less, we moved another piece of furniture from the office into the bedroom.


This antique marble-topped washstand came from my Granddad’s estate. It took a lot of wrangling, but by moving Brad’s dresser and the bed over as far as they would go; we were able to squeeze in the washstand.


I love the way the wood picks up the colors in the bamboo blinds and the brown storage box on the night stand.

I also like that my nightstand and Brad’s dresser are now much closer in height. The only thing that bugs me is that the bed is no longer centered under the window. But, when you live in a tiny cottage, you get used to little quirks like that!


Have you done any furniture switching lately?

<3
Hattie

Wednesday, August 11, 2010

blueberry lemon bread

It’s still blueberry season here at the roost, which means it’s time to get creative and discover new ways to eat those delicious berries! I’ve already posted quite a few blueberry recipes, but this one is something new.


I’ve always loved the combo of blueberry and lemon, so I hunted down a blueberry lemon bread recipe. It needed a little tweaking to come out to my liking, but the results were decadent. You might be thinking, “Ummm…Hattie, you posted a blueberry bread recipe last summer.” And you would be right.
However, that particular bread has a wonderful muffin-like texture and is super yummy slathered in butter or cream cheese. It’s a great breakfast bread.

This bread is like dessert. It has a denser texture and an amazing lemon glaze.


To make this yummy treat you will need:

- 1 cup sugar
- ½ cup butter slightly softened
- 2 eggs
- 1/3 cup milk
- 2 cups flour
- 1 and ½ teaspoons baking powder
- ¼ teaspoon salt
- 1 cup blueberries
- 2 teaspoons grated lemon peel

For glaze
- ¼ cup lemon juice
- 1/3 cup sugar

Cream sugar and butter and beat in eggs one at a time. Mix in milk. In a separate bowl, combine dry ingredients and stir into creamed mixture. Fold in blueberries and lemon peel. Pour batter into greased glass loaf pan. Bake in a preheated 350 degree oven for 50 to 60 minutes. When five minutes is left on the baking time, make lemon glaze by stirring lemon juice and sugar in a small sauce pan over medium heat until sugar dissolves. When loaf is done, use a skewer to poke holes throughout and slowly pour glaze over top. Let cool for ten minutes before removing from pan.

Yum!

I'm linking this to Gina's party!

<3
Hattie

Monday, August 9, 2010

I heart IKEA

Brad and I spent the last few days at the lake with his family, but before we headed down to NC for some boat riding-sun soaking-fun, we headed up to IKEA with my family for some eye candy, shopping, and Swedish meat balls. Here’s a few of the many items that caught my eye on this trip.

For no apparent reason, I’ve started to develop a serious thing for alphabet prints. It didn’t hurt that this one is red as well! I’m also digging that funky little metal lamp.


One of my favorite things about IKEA is the way they arrange their furniture into complete rooms and even mini houses. It always gives me great decorating and display ideas. I was surprised by how much I liked this bedroom. Dark wall paint is not usually my thing at all, but I felt like this deep blue really worked with the punches of red, white, and natural fibers. Plus, I’ve loved that lamp shade for a while now, even though it is pretty far removed from my normal decorating comfort zone.

On the other side of the same bedroom I fell in love with this dresser. I love how the mirror is simply propped up rather than hung.


Now, this room really spoke to me! Could it be because I’ve been dreaming of a white Ektorp sofa for years? Could it be the wonderful sisal rug? Could it be the awesome juxtaposition of the soft and feminine sofa and prints with the more modern and masculine coffee and end tables? Could it be all of the above? I think, “Yes.”


Finally, this awesome basket/trunk really stopped me in my tracks. I didn’t have the space or 60 smackers to take it home with me, but I’d love to find just the right place for it one day!

Brad and I did not leave IKEA empty handed. We stumbled upon a solution to our office/craft room work space and storage dilemma and picked up something for the bedroom as well. Thursday night found us assembling, painting, and moving furniture around so stay tuned this week to see some of the results!

What’s your favorite store for eye candy and inspiration?

<3
Hattie

Wednesday, August 4, 2010

bookcase skirt

Today, I took on bookcase transformation number two and added a skirt to create some hidden storage on the bottom shelves off my two tall bookcases. That little change took them from looking like this:
Bookcase makeover phase one.

To this:

Pleats, plus drop cloth, plus lots of hidden places to stash junk = lots ‘o love!

Here’s how you can make your own:

First, round up some heavy ribbon cut to the width of your bookcase, Stop Fray to keep the ends of the ribbon from becoming, well, frayed, a prewashed drop cloth with hems, and some decorative nails or nailhead trim. You’ll also need pins and a sewing machine.

Start by folding the drop cloth in half to form a long rectangle with hemmed edges on three sides. Cut through the fold to create two rectangles with hems on three sides.

Measure the length of your bookcase and add an inch for seam allowance, for me this was 4 inches. Cut the rectangles to this length, fold the cut edge over twice, and pin to form a hem.

Sew the pinned hems on both rectangles.

Now, find and mark the center of your ribbon and pin each rectangle on either side of the mark. Also pin to each end of the ribbon.

Here comes the fun part! Decide how you’d like your pleat. I went for three skinny pleats and two large pleats on each side of the ribbon.
Pin the pleats in place and sew.

Finally, use decorative nails or nailhead trim to secure your skirt to the bookcase.


One of my favorite things about this project is that it came in at less than ten bucks!


I love that the skirt is feminine in shape but masculine in texture and hardware.

Have you made anything out of drop cloths?


I’m linking this to Gina’s!

<3
Hattie

Tuesday, August 3, 2010

into the frying pan

Hello, lovely blogland friends! I’m excited to announce that I’m teaming up with CSN Stores to review a really cool product. Since CSN has over 200 stores you can find everything from dining room sets


(I swoon!)


(This would be so cute in a guest room!)

To tons of cookware


This normal-looking skillet is actually a superhero in disguise. It’s an EarthPan! Teflon scares me, so I’ve been dreaming of an Eco-friendly skillet that cleans up easily. Needless to say, I’m very excited to try this baby out!

So, stay tuned for a full review coming to a blog near you! I’ll give you all the nitty gritty details like: Is it really non-stick? Does it cook evenly? How heavy is this sucker?

Just for fun, have any of you tried any of the new green cookware brands out there? If so, what do you think?

<3
Hattie


Sunday, August 1, 2010

crafting oops!

With all the DIY action going on around the roost, occasionally a project does not go as planned – shocking, I know!

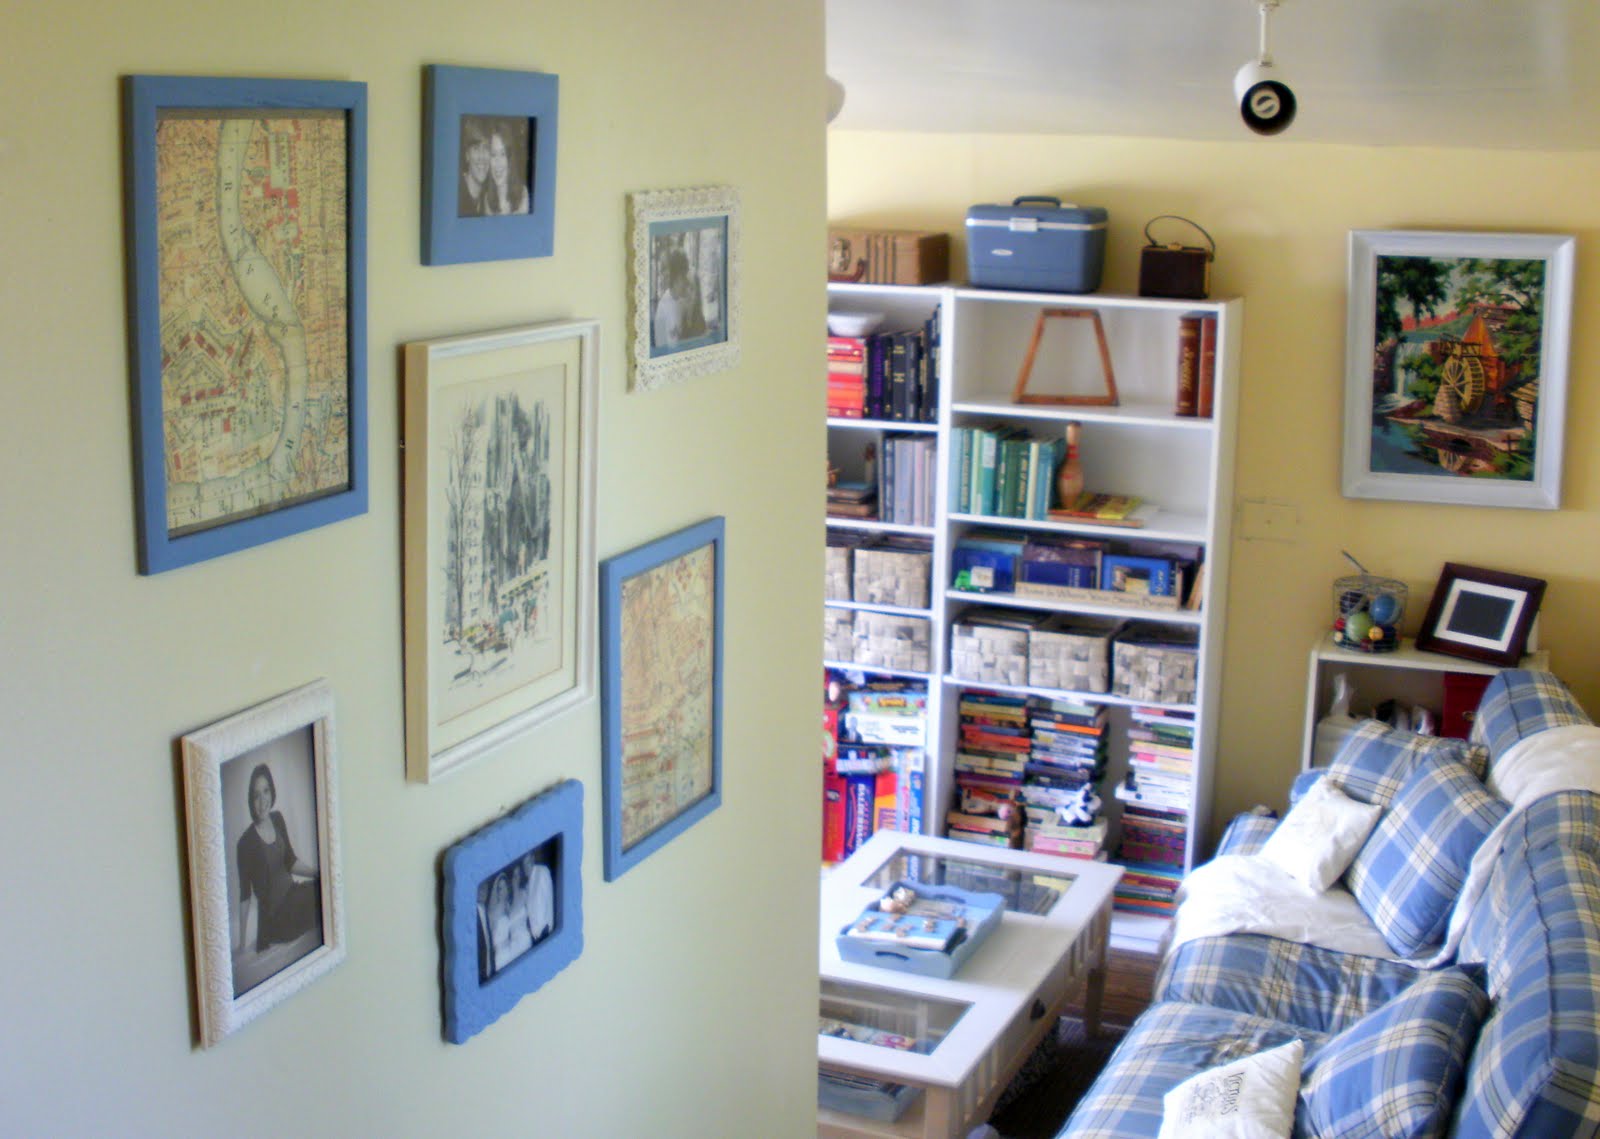
Let’s take my recent gallery wall project.


It turned out lovely, but what you don’t know is that I hit certain, shall we say, “snags” along the way.


In my impatience eagerness to transform my ho-hum frames into a fun art wall, I didn’t really stop to think about what I was doing. I blithely went along slapping paint on the frames, dreaming of the finished product. When the paint dried, and I was ready to start hanging the frames, I turned them over and had one of those, “Oh, crap!” crafting moments.


This frame, and three others, were never intended for hanging and only had those little cardboard easels on the back. Hmmm, what to do?

I thought about gluing saw tooth hangers on the backs of the frames, but 1. I didn’t have any on hand, and 2. my experiences with so-called super strength glue have shown that it doesn’t necessarily hold up to humidity or extreme cold. Soooo… I tried command adhesive strips on a test frame. Massive fail. When they say they won’t hold over a pound, they aren’t kidding.

Not willing to give up on finishing my wall without a trip to Home Depot, I finally hit on an idea that worked. I popped the backs out of the frames, traced them onto some heavy duty cardboard, and cut out the rectangles.


Next, I used my grommet setter to punch holes in the corners and set grommets. I threaded wire through the grommets and secured it with lots of knots and twisting.


Ta-Da! The frames have been up for several days now with no terrifying crashes in the night (aside: why does stuff always fall in the middle of the night? In daylight I can rationally think, “Oh, some knick-knack must have fallen off a shelf,” while at two in the morning my mind goes directly to worst-case crazy intruder/bear scenarios. I’m just sayin’) so anyway, I think my lazy and free picture hanging method is a success.

OK, time for y’all to spill the beans. Have you solved a crafting or decorating dilemma in an interesting way? Anyone else have house crashing bear nightmares?

<3
Hattie