Showing posts with label Organization. Show all posts

Sunday, August 22, 2010

Office 360

My students still have two lovely weeks of summer left to enjoy, but I head back to work tomorrow. I decided I did not want to go back with the office project half done, so Brad and I went into full-on project attack mode this weekend. There are still a few things I’d like to tweak, but for the most part this baby is finished! The goal was to create separate crafting and office spaces with lots of storage, make the room more fun and creative, and include some whimsical décor elements that would feel out of place in a more grown up space like our living room. Care to take a 360 view?


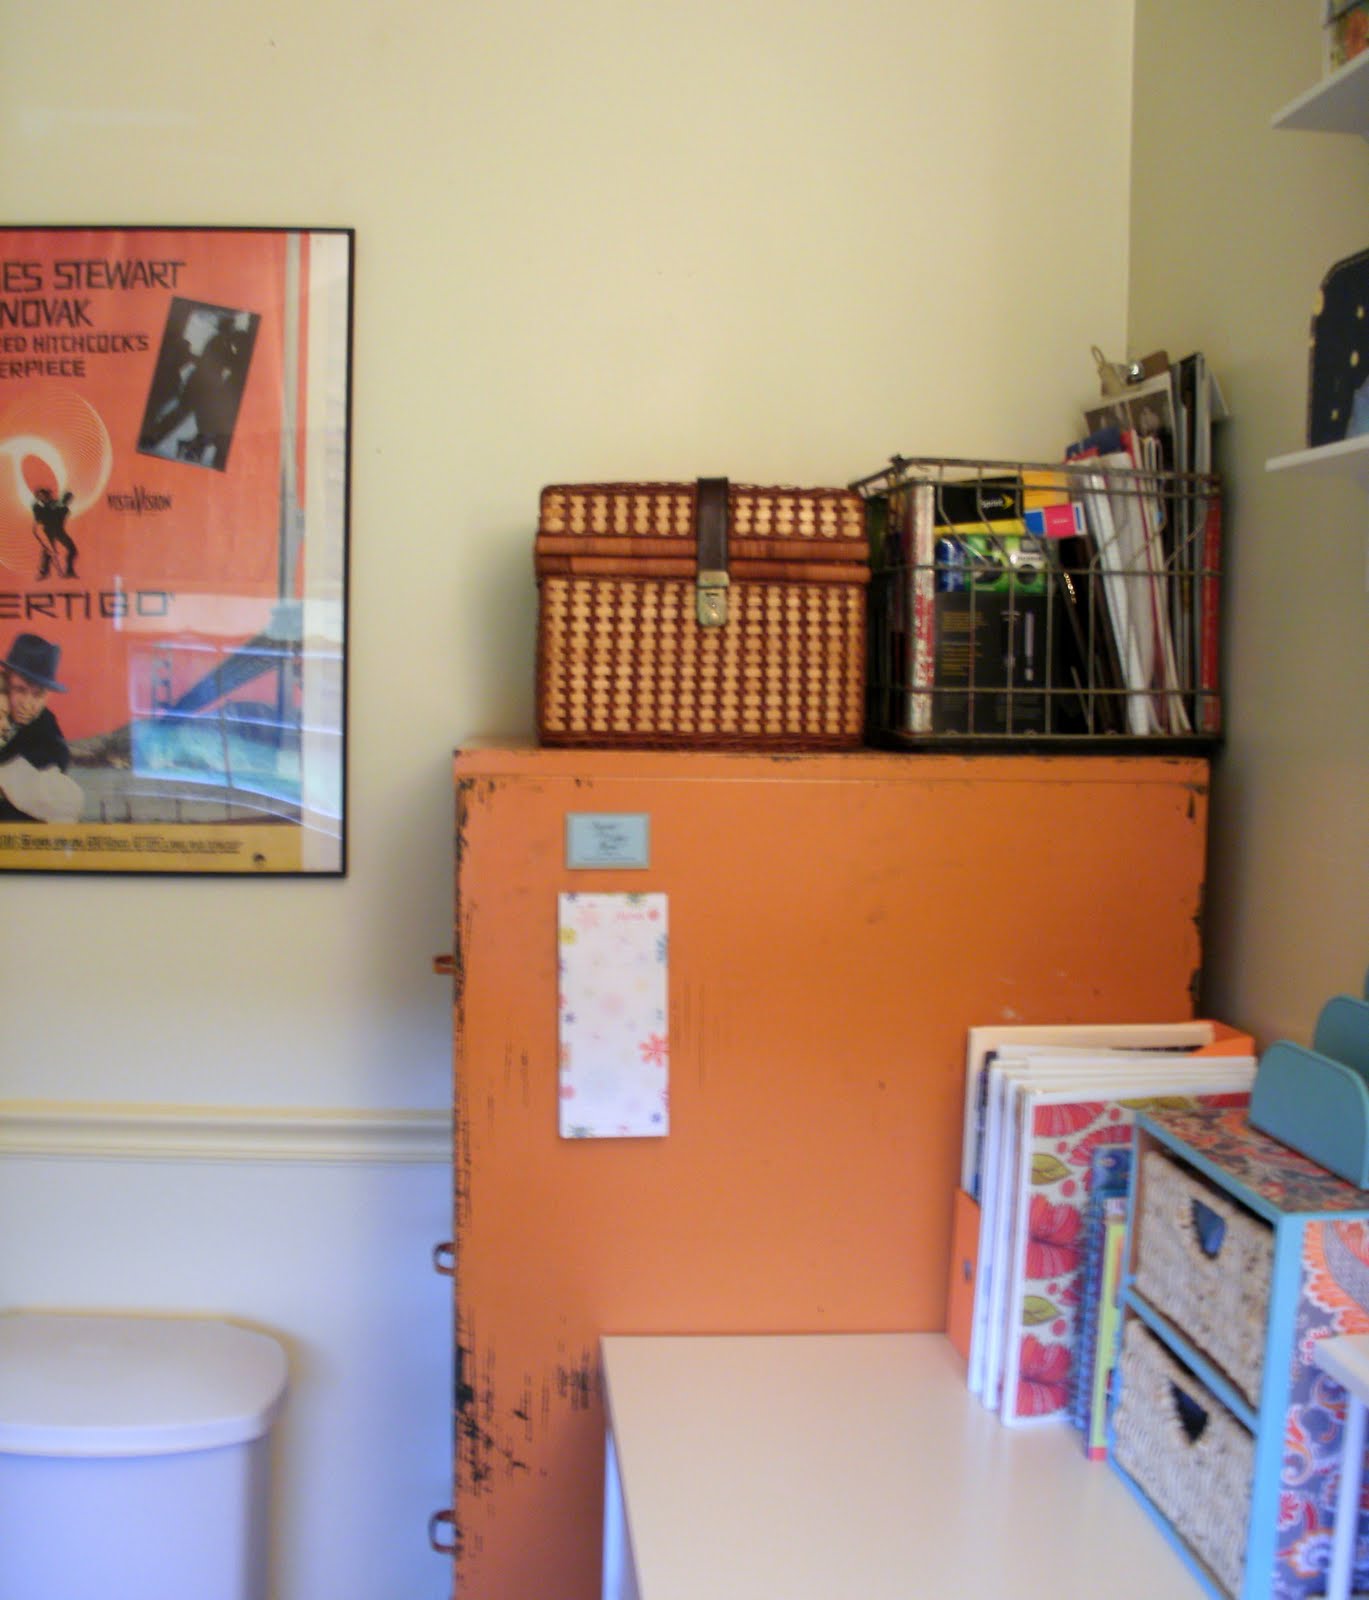
My much loved Vertigo poster had to stay. Orange + Jimmy = LOVE.

I found this picnic basket at Goodwill. It’s the perfect place to stash small, unfinished projects.

Shelf heaven! I knew the only way I’d manage to keep a big, open workspace is if I could stash a lot of crafting supplies off of the table.

These two shelves were 20 bucks each at Target. I love that the pegs provide a fun way to store stuff.

This shelf came from a thrift store. Brad and I modified it by adding cup hooks and a dowel rod to hold my spools of ribbon.

I made sure to have lots of little drawers and baskets to corral sewing and craft supplies.


I love all the open workspace!

Here’s my little pizza pan turned magnet board in action!

On the other side of the window is a thrifted memo board.

And here’s the office side of the room. Much less thrilling, but a family needs a place to store stationary and printer paper and post its too!

I hope you enjoyed the tour! I still want to recover the seat cushions in the room, and I need to figure out what to do with the framed photos/art that used to live where the desk is now.


Somehow, I think the black frames would seem out of place in this new, cheerful space. I’m all for painting them if y’all have any wonderful color suggestions!

Where do you carve out a spot for crafting/sewing/scrapbooking/etc.?

<3
Hattie

Monday, August 16, 2010

Crafting a room makeover

Ah, the craft room/office, land where piles of fabric, paperwork, and thrifted finds go to languish in a kind of cluttered purgatory. If you remember, I sort of kind of cleaned up this space during the spring.


Paperwork found a home.

My desk got all gussied up.

All was well. Well, except for this side of the room.

You see, my sewing habit bred a fabric stashing habit and it all exploded in a big lack of storage and open workspace mess.

Enter IKEA and two beautiful white worktables. It took a lot of wrangling, but Brad and my dad figured out a way arrange everything into a work-friendly space that doesn’t block the baseboard heat or any electrical outlets.

The orange file cabinet stayed against the wall,


and the two new tables butt right up against it.


My white desk moved to the opposite wall, along with the other file cabinet. Brad’s old cargo desk went to Goodwill.


While all the major furniture is in place, you can see that I still have a lot of organizational work ahead of me!


This pile of furniture is all destined for a paint job and will help keep fabric and sewing notions organized.


And these little pieces are going to help corral some other stuff.

It’s going to be a lot of work, but I’m excited to turn this room into something that works for us!

<3
Hattie

Thursday, August 12, 2010

Bedroom switcharoo

I hinted earlier in the week that an innocent trip to IKEA caused a whole lot of moving, painting, and shaking around the roost. Our bedroom and office/craft room have been in a state of upheaval for most of the week, but the bedroom is finally starting to take shape.


Let’s take a look at the bedroom before:


Note how low the TV is. You can’t see it, but the TV is sitting on an old school desk I used as a TV stand during my grad school days and for most of our marriage. The cubby in front was perfect for holding the DVD player. I liked this arrangement quite well until my parents gifted us a super comfy pillow top mattress. The new mattress raised the bed a good six inches, blocking part of the TV screen. Another downside to the school desk was that is lacked storage, something we needed much more of in our little bedroom.

Here’s my side of the bed and nightstand:


Now for some after photo fun!


We moved the school desk into the office (more on that next week) and replaced it with my nightstand.


This gave us the extra storage space we needed. To fix the height problem, we purchased a pine nightstand at IKEA for $14.99. Three coats of Zinsser primer and two coats of American Accents semi-gloss white paint later, and we used it as a topper for my old nightstand.


I still have to do some cord wrangling and concealing, but I’m much happier with the new look. I also need to figure out new artwork for over the TV, and attempt anything that might possibly hide the ugly HD antenna us over-the-air TV folks need. Anyone know if you can paint those suckers?

Since I was now nightstand-less, we moved another piece of furniture from the office into the bedroom.


This antique marble-topped washstand came from my Granddad’s estate. It took a lot of wrangling, but by moving Brad’s dresser and the bed over as far as they would go; we were able to squeeze in the washstand.


I love the way the wood picks up the colors in the bamboo blinds and the brown storage box on the night stand.

I also like that my nightstand and Brad’s dresser are now much closer in height. The only thing that bugs me is that the bed is no longer centered under the window. But, when you live in a tiny cottage, you get used to little quirks like that!


Have you done any furniture switching lately?

<3
Hattie

Wednesday, August 4, 2010

bookcase skirt

Today, I took on bookcase transformation number two and added a skirt to create some hidden storage on the bottom shelves off my two tall bookcases. That little change took them from looking like this:
Bookcase makeover phase one.

To this:

Pleats, plus drop cloth, plus lots of hidden places to stash junk = lots ‘o love!

Here’s how you can make your own:

First, round up some heavy ribbon cut to the width of your bookcase, Stop Fray to keep the ends of the ribbon from becoming, well, frayed, a prewashed drop cloth with hems, and some decorative nails or nailhead trim. You’ll also need pins and a sewing machine.

Start by folding the drop cloth in half to form a long rectangle with hemmed edges on three sides. Cut through the fold to create two rectangles with hems on three sides.

Measure the length of your bookcase and add an inch for seam allowance, for me this was 4 inches. Cut the rectangles to this length, fold the cut edge over twice, and pin to form a hem.

Sew the pinned hems on both rectangles.

Now, find and mark the center of your ribbon and pin each rectangle on either side of the mark. Also pin to each end of the ribbon.

Here comes the fun part! Decide how you’d like your pleat. I went for three skinny pleats and two large pleats on each side of the ribbon.
Pin the pleats in place and sew.

Finally, use decorative nails or nailhead trim to secure your skirt to the bookcase.


One of my favorite things about this project is that it came in at less than ten bucks!


I love that the skirt is feminine in shape but masculine in texture and hardware.

Have you made anything out of drop cloths?


I’m linking this to Gina’s!

<3
Hattie

Wednesday, July 28, 2010

halfway there!

Operation bookcase clean-up has made for a couple of busy days around the roost! I’m about halfway through this massive and very dusty project, and the shelves are starting to look the way I envisioned. Because everyone loves a good before and after, let’s take a look back at the living room before I got myself into this mess:


Big bookcases – love the newspaper baskets; really don’t like the big shelf full of board games. Note the typewriter table beside the sofa - I’ve never been crazy about this table, but it fit well in the space.


Ugly brown bookcases beside the sofa and on the steps.


White bookcase full of children’s books.

Here’s how things look now, after moving nearly every book and painting the brown bookcases:

The view from the top of the steps. I switched the typewriter table for one of the freshly painted bookcases.

The shelves hold tissues, the remote basket, and our newly organized CD boxes. I filled a wire basket with mini pool balls and croquet balls and used our digital photo frame to hide one of the surround sound speakers.

On the other side of the sofa, I switched out a bookcase for the $12 end table we picked up a few weeks ago. I’m really not sure how/if I should accessorize this table – suggestions please!


The other white bookcase went back on the stairs.

I’m thankful the big bookcases came with adjustable shelves, because I moved nearly all of them!

While the top two shelves on each side are pretty much done, I have a lot of work to do on the lower shelves. The plan is to make 12 more newspaper baskets to hold the rest of our DVDs and paperback books. I also plan to use a drop cloth and nail head trim to make a skirt to hide the large bottom shelves. Those board games and paperbacks will finally be hidden from view!

I removed the dust jackets from all my hardback books and arranged them by color.


I’m really pleased with how these two shelves came out!


On this side, I plan to make the racquet press into a frame.


Finally, I rearranged some of the books on the other bookcase as well.


I love that after three years all of my bookcases finally match!


I still have a lot of work to do, but it’s nice to see things starting to take shape.

Have you tackled any big projects this summer?

Linking to the fun at Gina's!


<3
Hattie