Showing posts with label crafts. Show all posts

Wednesday, August 24, 2011

Mod shoes

One of my very first pins on Pinterest was to this tutorial for mod podge shoes. I finally found the perfect shoes to cover in fabric, so I had to try it out!


You will need old flats, Outdoor Mod Podge, fabric, scissors, and an xacto knife.


Start by draping fabric over your shoes to determine the amount you will need to cover them. Trim the fabric so you have a little extra all around the edges of the shoe.


Cut a slit from one end of the fabric up to where the toe of the shoe starts.


Cover the shoe with mod podge a few small patches at a time and smooth the fabric down. I founded easy to start with the toe and work my way around to the heel.


When you get to the heel, fold one end of the fabric over and glue on top of the other edge so you have a clean seam down the back of the heel.


Now it's time to fold the extra fabric inside the shoe. Cut a few triangle slits into the fabric so it will fold under easily. Use mod podge to secure.


Let the shoe dry. Once dry apply a thin top coat of mod podge.


When that is dry, use an xacto knife to carefully and firmly trim the remaining excess fabric next to the sole.


Finally, apply a final coat of mod podge over the top of the shoe.

This whole process was much easier than it sounds but I do have a few tips:
- let the glue dry thoroughly between each coat.
- do not attempt this during high humidity. It took my glue forever and a day to dry.
- pay close attention when gluing the fabric next to the sole. Press extra hard here and use your fingernail to score the fabric into seam where the leather meets the rubber sole.
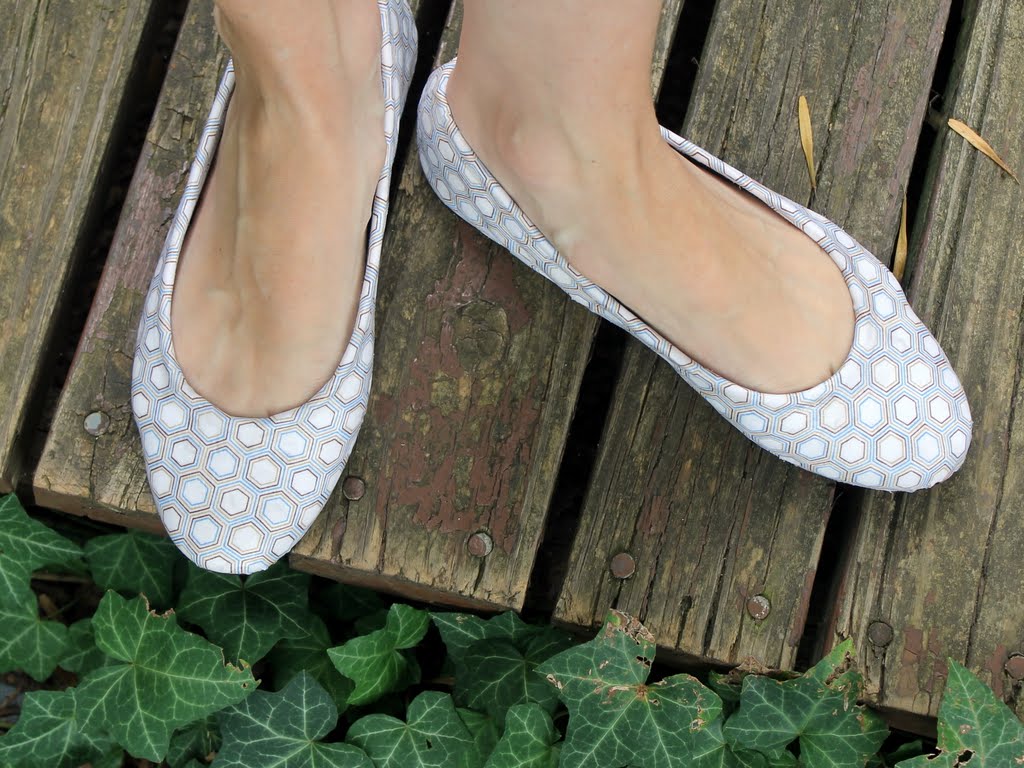

I have no idea how well these will hold up, but I was just going to throw the shoes away and I had the fabric in my stash, so they were practically free.

Cute and free, those are my kind of shoes!

<3
Hattie

Friday, July 22, 2011

Nautical Chevron Bracelet

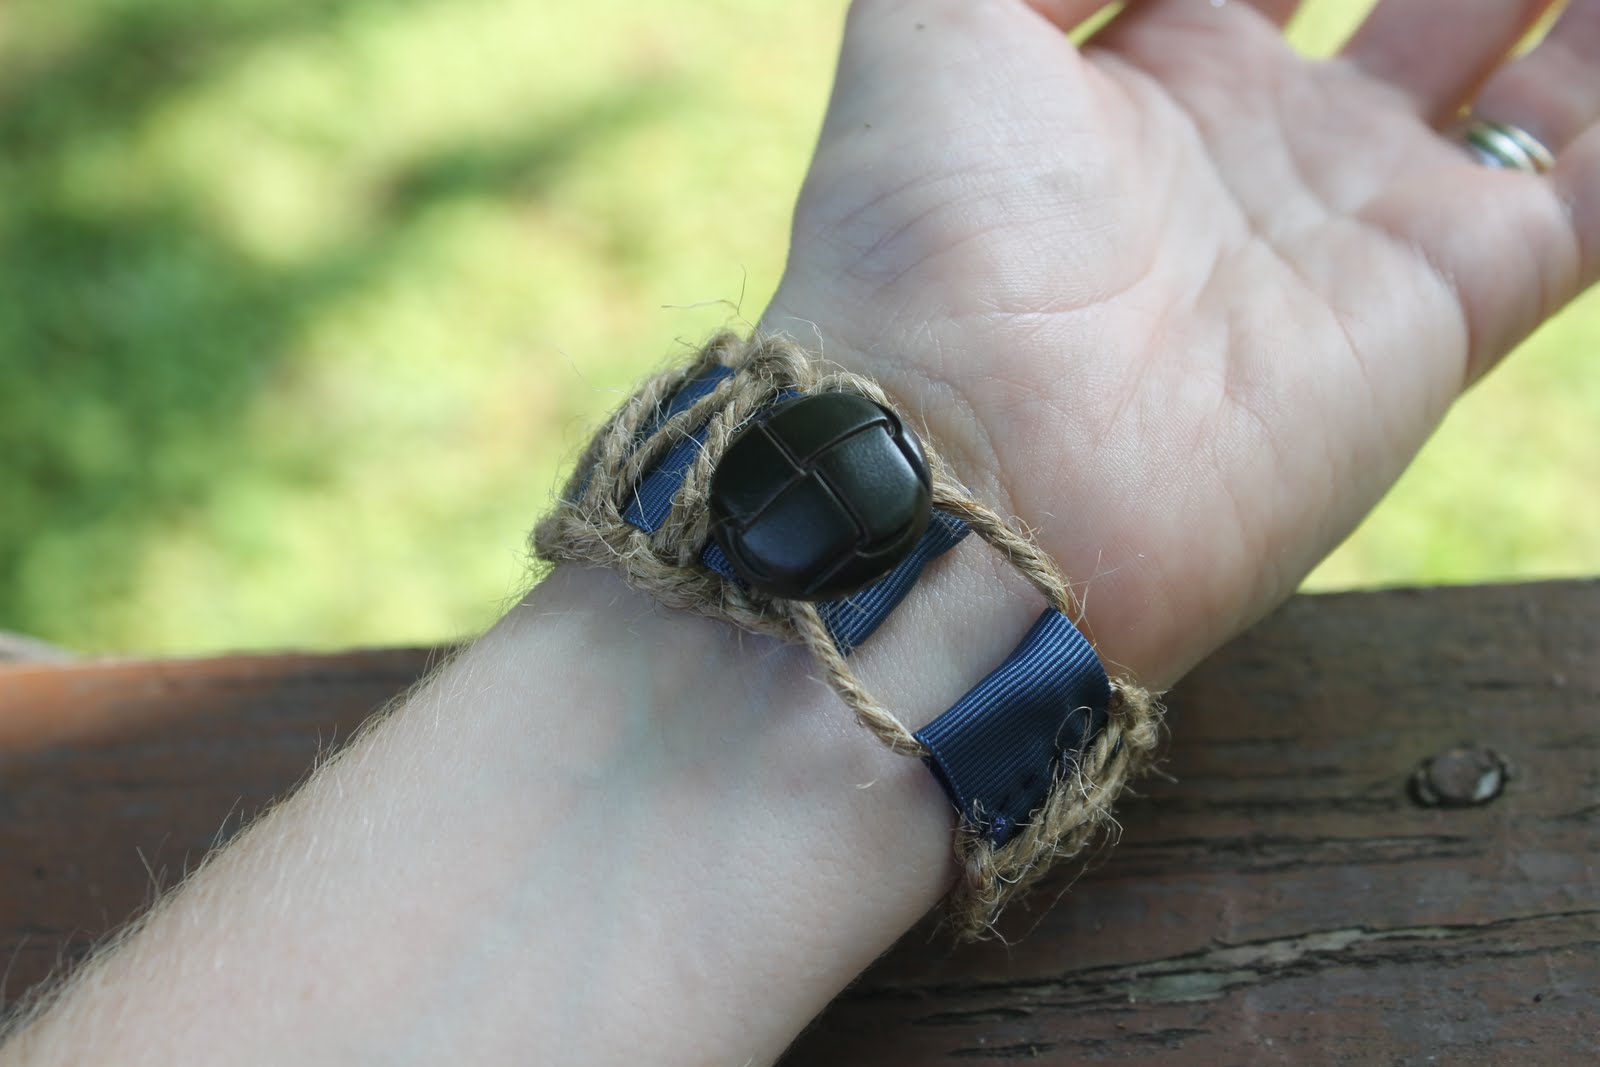
I had a brainwave yesterday. Shocking, I know, but it does happen sometimes! I was thinking about the hemp friendship bracelets I used to make in high school and how to make them a little more grown up. My eyes landed on a spool of navy grosgrain ribbon, and the nautical chevron bracelet was born.


It turned out to be super quick and easy to make, my kind of project!


To make your own, you will need: ribbon (long enough to wrap around your wrist plus three inches), 5 ft of  jute twine, a button, and a needle and thread.


Fold the twine in half and knot at the top, leaving a loop. Slip the loop through the ribbon.


Fold the ribbon over and pin. you can sew this shut now or later.


Take the twine on the left side and pull it over the ribbon and under the twine on the right side.


Now, take the twine on the right side, bring it under the ribbon, and...


... pull it up through the loop on the left side.


Carefully, pull the twine on each side to tighten the knot. Now you are going to do exactly the same thing, starting on the other side.


Take the twine on the right side and bring it over the ribbon and under the twine on the left side.


Now, take the twine on the left side, bring it under the ribbon, and...


... pull it through the loop on the right side.


Carefully tighten, making sure not to squeeze the ribbon.


Repeat the pattern of alternating your knots until the bracelet is long enough to fit around your wrist.


Knot the twine.


Fold the ribbon over, and sew shut.


Trim the ends of the twine.


Sew on your button.


Enjoy your adorable new bracelet, and have a wonderful weekend!

<3
Hattie

Monday, July 18, 2011

My living room is on vacation

I love the game theme I did for the living room, but seeing back to school items in stores this week (seriously, people!) had me clamoring to live up the summer for as long as it lasts. So, I decided to bring in a little beachy, nautical vibe to keep September far from my mind.

That's why this:

Turned into this:

To start, I took the blue tray off the bottom and flipped it over on top of the divided box.


Hmm... yeah, looks like I didn't bother to paint the bottom. Scrapbook paper to the rescue!


Now, just add a fish bowl full of jute rope.


And I have to make a little ribbon nautical bunting. (sew through little ribbon scraps - super duper easy)


Add a candle and some sea shells for the finishing touch - and there ya go!


I also added my "S" and a vintage nautical oil panting to extend the look to the rest of the coffee table.


Now when I'm sitting in the living room watching far too many hours of netflix streaming, I remember that it's OK, because I'm on vacation!


Visit thecsiproject.com

<3
Hattie

Monday, June 20, 2011

sunny day necklace

I made a fun fabric stash-busting necklace over the weekend.


This is super easy to make and will likely cost you zero bucks - ya know, if you happen to have a ridiculous amount of scrap fabric hanging around your craft room threatening to overrun the entire room like some kind of fabric kudzu vine. Not that I have that problem or anything.


Gather fabric, a few beads, scissors or a roller cutter, a button, and a needle and thread.


Start by cutting nine looooong and skinny strips of fabric and braiding them into three braids of varying lengths.


Next, add your beads (please pardon my tea cup rings! this is real life people)


On each side, braid the very ends of the three braids into one thicker braid and knot.

Leaving one long strip on each end, cut the other strips short, close to the knot. Sew the short, loose ends down to keep the knot from unraveling. On one side, sew the long strip into a loop.


On the other side, sew a button to the long strip.


Push the button through the loop to create the necklace closure.


Easy peasy! The braiding takes a bit, but it's the  kind of thing you can do while watching netflix.


Enjoy your cheerful sunny day necklace!

<3
Hattie